Managing and adding users
Fireberry system users can access system data, manage and alter information, build system functions, communicate smoothly with other users, and much more. By using multiple system profiles, you can easily track user data, and know who created or modified each record and when. You’ll also allow your employees to collaborate with their teams efficiently, and you can set which data each team and team member will have access to. This will keep all your data in the right hands.
Managing existing users
You can manage all the users in your system from the settings. By clicking the settings gear, you’ll automatically open the System tab and the Users page. Here you’ll find a list of all your system users. By clicking on a specific user’s record, you’ll open their personal details.
In general you can use your profile to edit these details. By using the user pages, you can edit any user’s profile details and not just your own. Under the User Settings section you’ll find a few important fields, which you may want to change for other users:
- Username (Login Email): This is the email address which is used to log into the system by this user. Fireberry system emails will not be sent to this email address.
- Status: This field will show if the user is active or inactive. Below you’ll learn how to activate and deactivate users.
- Role: The role of the user, which will set their permissions. This will be covered in the next lesson.
- Business Unit: The business unit of the user, which will set their sharing level. This will also be covered in a later lesson.
Password reset
You can send any user a reset password email, which they can then use to reset their password.
After opening their profile, click the three dot menu on the top right and select the Reset Password option. This will open a popup where you’ll need to press Ok. A green popup will display on the bottom of the screen confirming the Password Reset email was sent to the primary email of this user, which they can now use to reset their password.

Deactivating users
You can deactivate a user’s account so that they will no longer have access to the system. This will also open a slot in your billing plan so you can add a new user. To deactivate a user, first open their profile. Next use the three dot menu on the top right and select the Deactivate User option. In the pop up, click Ok. A green pop up will appear at the bottom of the screen confirming your user is now deactivated.

Adding new users
To create a new user, first click the settings gear on the top right of any system page. Then select the System tab and open the Users page. Here you’ll see a list of all your current users. To add new users, simply click the green Add button on the top right. This will open a page where you can add your new users.
Fill in the Full Name, Email, and Role fields to create your new user. All of these fields are mandatory and must be filled out. If you’d like to add multiple users, simply click + Add User. Once you’ve added all the new user details, click Add on the bottom right.
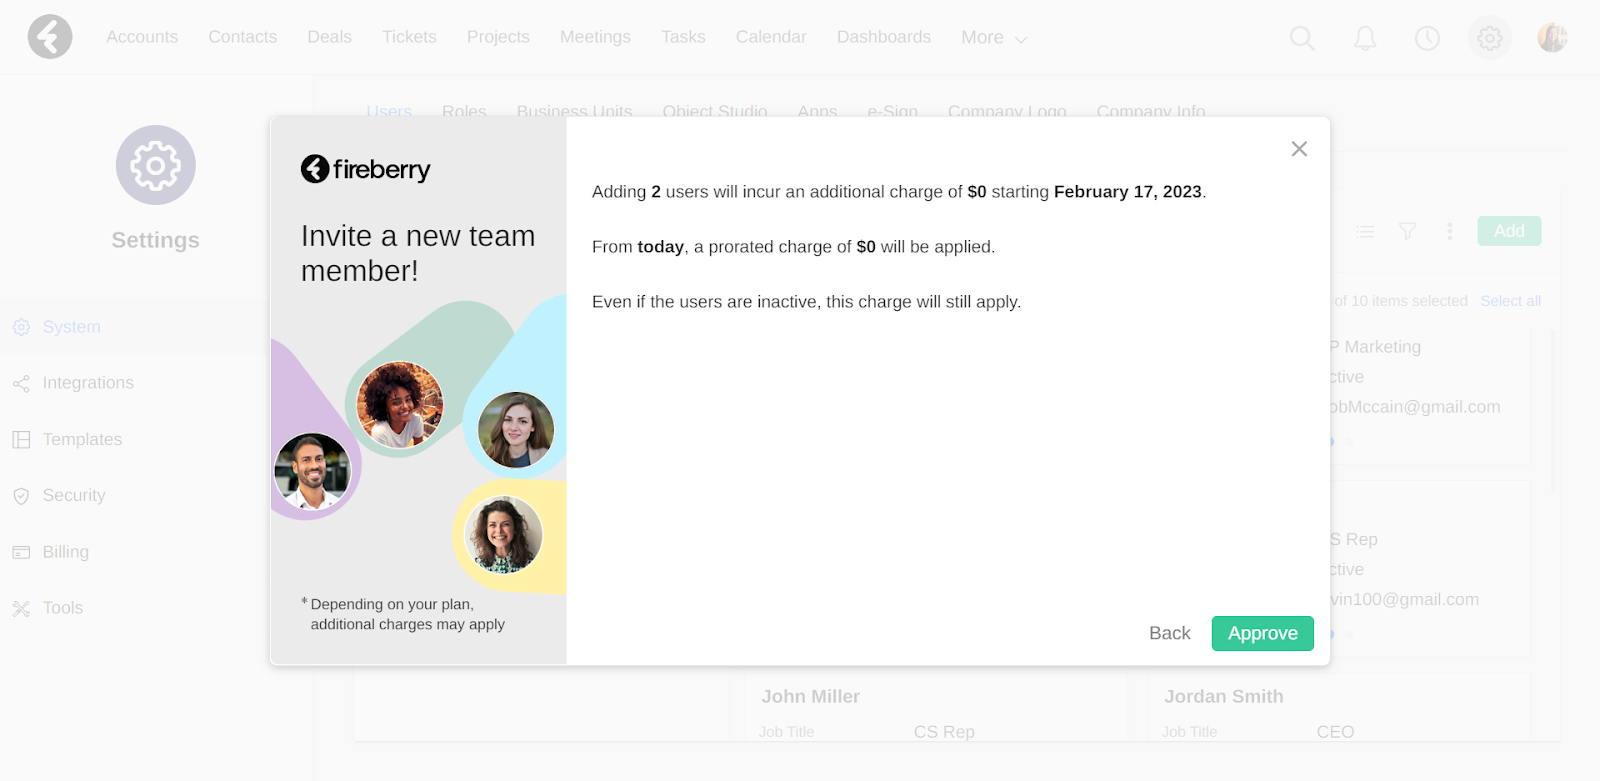
By clicking Add, you’ll open a page explaining the billing details of your new user or users. This charge will be based on your billing date and number of active users. Be sure you’re willing to accept the detailed charges, and then click Approve. If you’ve decided you would not like to add new users, simply click Back and you will not be charged.
After adding the new users, they will be sent an email where they can set a password for their profile. Once they set a password, they can start using the system. In the next lessons we’ll go over how to set up role and sharing permissions for your users, so that each user only accesses the data which is relevant to them, and your information stays confidential and in the right hands.
Learn how to manage your existing system users' information, reset passwords, deactivate users, and add new ones.
Course Lessons
Up next