Editing fields
In the last lesson you learned how to select existing fields within a form. After selecting a specific field, all its settings will open on the right. Within these settings you’ll find the Edit option in green. By clicking it, you’ll open the system wide field settings of the field you selected. For example, by clicking the Account Name field and opening its settings, you can now change its name or other settings on a system wide level. To reset the field name, simply edit the current text.
Below you’ll learn about all the different settings you can set when editing fields. Note that some of the settings will only appear for specific field types. In a later lesson we’ll go over all the different field types.
Characters limit
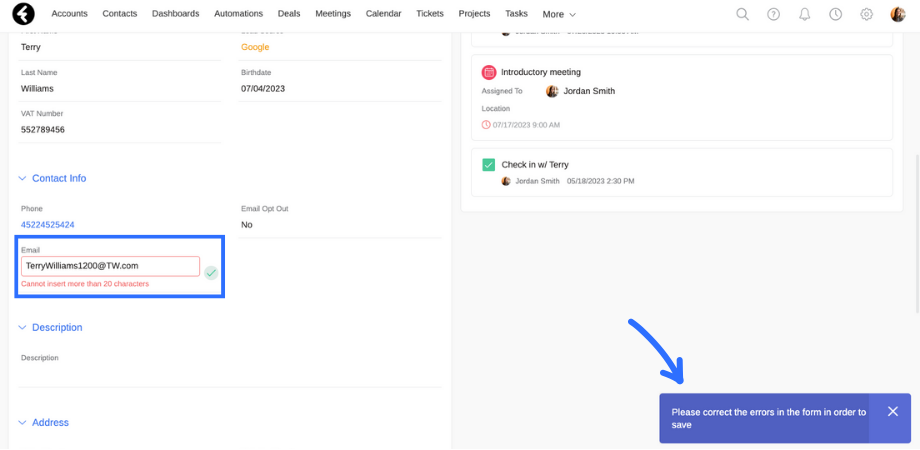
Text, Email, and URL fields have a preset character limit of 200 characters. You can choose to set an additional character limit which will limit the amount of characters that can be saved in the field. For example, you can set a character limit of 20 in the Email field. If you try to add more than 20 characters to this field, you won’t be able to save the record and an error message will appear and show the limit. In this way you can make sure field values don’t get too long.
Default value
By setting a value here, it will be automatically set as the value in this field until someone changes it. For example, you can set each new account to always start off set to the lead status, or the join date of accounts to by default be set as Now. The Now option in this case will be the time the record is created. This can help save time by automatically setting information and help you avoid having records with missing data.
Track changes
By checking this option, your system will automatically keep track of any changes made to this field. Every change made will be documented as a note in the stream of the record, and include the date and time the change was made, who made the change, the previous value, and the value it was changed to. This is a great setting to use for important fields where you’d like to be able to check when information has been updated.
You may remember from previous lessons that you can receive system notifications about changes made in the system. The owner of a record will receive a system notification every time a tracked field is changed by someone else.
Autocomplete
This option will try to automatically complete the value you’re typing, based on previous values you’ve used in the system. Autocomplete only exists for the following fields: Text, Phone Number, URL, and Email Address.
Precision
This option only exists for the Number and Summary field types. It lets you choose if you would like to limit the number to a whole number or to up to a certain amount of decimal points. For example, you may wish to create a Siblings number field which only lets you input a whole number. To do so, first create a new number field and then set the Precision dropdown list to 0.
The system will fill in zeros after the decimal point up until the precision you chose. This means that a number field with the precision set to .000, for example, will display the number 16 as 16.000.
Required (System wide)
By setting a field as required, you’ll make sure that a record cannot be saved without filling out a value for this field. This is a great way to ensure important information is always filled out. For example, you may set the Status field as required to make sure your accounts always have a set status.
Within Fireberry you’ll even find built in required fields, which will always be required. An example of this is the Account Owner field, which is always required. This ensures that every account always has an owner, which is important because this frequently sets the permissions and access level to the account. You won’t be able to unclick the Required setting in built in required fields. If anyone tries to save a form without filling out any of the required fields, they’ll receive an error message. Required fields are marked as required by a red dot which appears next to their name in edit mode, so that you can easily identify them.
Read only (System wide)
You can use the read only setting to lock a field so that no one can change its value. This will keep your important data saved and make sure it doesn’t get accidentally changed or erased. For example, you can set the Account Number field as a read only field to maintain its values and make sure they’re never changed. All read only fields will be marked with a lock icon which appears when you hover over them.
You’ll find four default read only fields in each object: Created On, Created By, Modified On, and Modified By. Each of these fields are automatically filled in by the system. The On fields will contain the relevant date and time, while the By fields are lookup fields which connect to the relevant system user. The Created fields will be set and unchangeable as soon as a record is created, while the Modified fields will update whenever a record is modified. These fields help you track activities in your system.

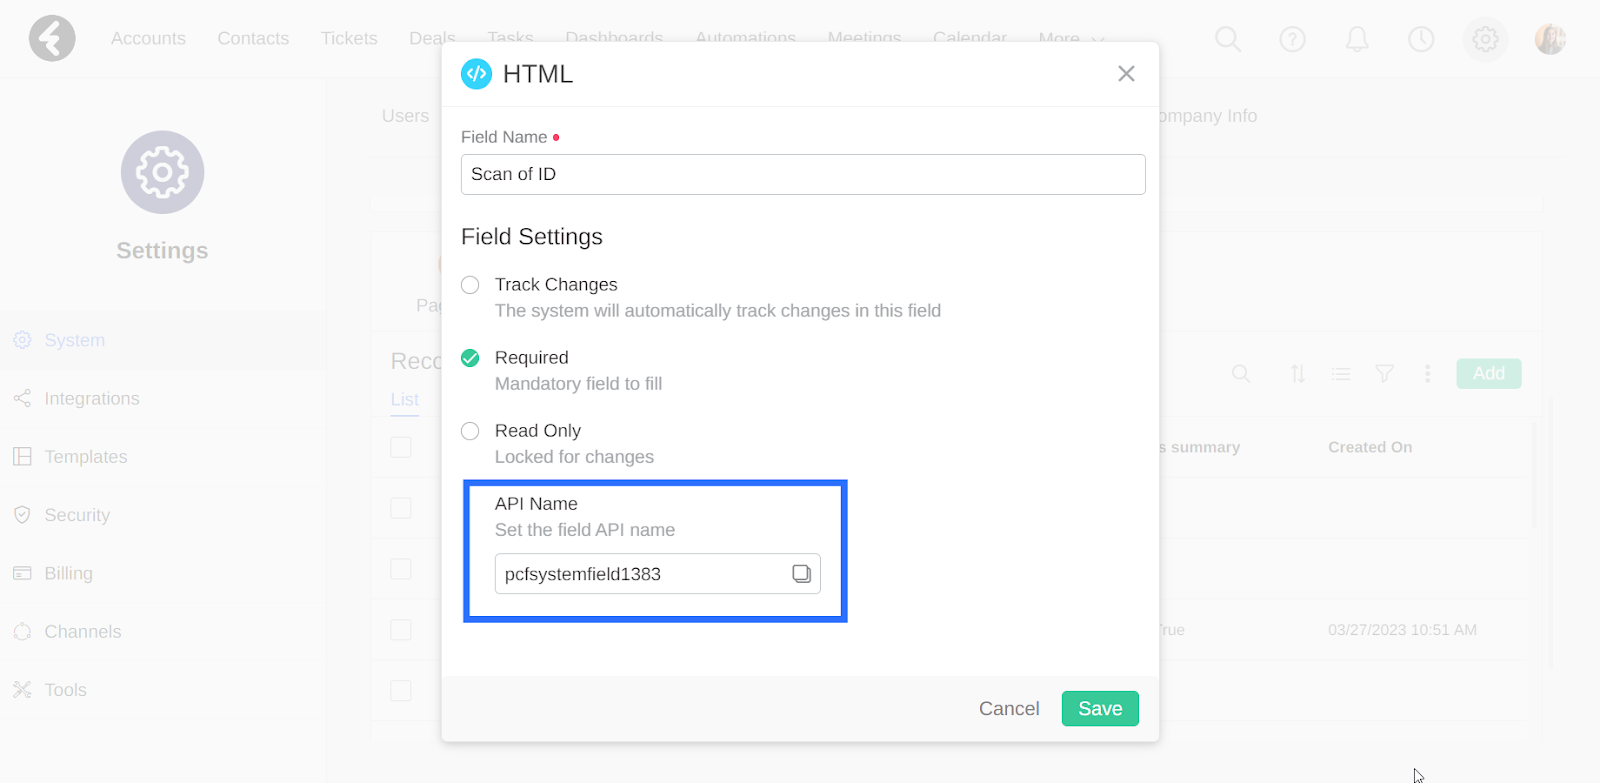
API name
The API name of a field can be used to identify it, as it is unchangeable from the moment a field is created. Built-in fields will have built-in names, while any custom fields your organization has created will always have API names starting with “pcf”, such as “pcfmaidenname”. In this way you can easily identify a field and find out if it’s a custom or built-in field. You can easily copy the API name at any time using the copy icon next to it. This field is especially relevant to developers.
Page level field settings
Above we’ve discussed system wide field settings, which apply to fields across the whole system and for all users. In addition to these settings, there are some options which can be applied on the page level. This means that the settings will only be applied on specific pages. For example, you can set the status field as a read only field, but only for your sales reps. This will ensure that only managers can edit this field, so that the status will only be changed by people who are authorized to do so. To access these settings, simply open the page editor and select the field you’d like to edit. After clicking the field, the Field Settings tab will open on the right. Previously, you used the Edit button to open the system wide settings. Now you can instead use the following options:
- Required: Clicking this option will set the field as a required field for any users who are using the current page. For example, if you set the Lead Source field as required on the sales reps page, they will always have to set a value for this field. However, other users who are not assigned this page will not be required to set a value. In this way you can ensure your sales reps fill out important information, while still letting other users, such as managers, quickly create a new account even if they don’t have all the details. After clicking this option, a red dot will appear next to the field within the field editor.
- Read Only: Clicking this option will set the field as a read only field for any users who are using the current page. For example, you can set the Account Type field as read only on the sales reps page, so that they won’t be able to change this field’s value. Managers and other users who are authorized to make changes to this field will be able to do so. In this way only authorized users in your system will be able to change the type set for each account. After clicking this option, a lock icon will appear next to the field within the field editor.
- Field Visibility: This option lets you create filters to control when this field will be displayed on the page. In the next course you’ll find a detailed explanation on filters and visibility rules.
Open and change the settings of your fields to set how users can interact with them. Set when fields will be required or read only.
Course Lessons
Up next
