Editing the form component
In the previous lesson we spoke about components. One of the most commonly used components is the form component, which is used to display and edit fields. You’ll probably use forms in most of your pages.
Forms
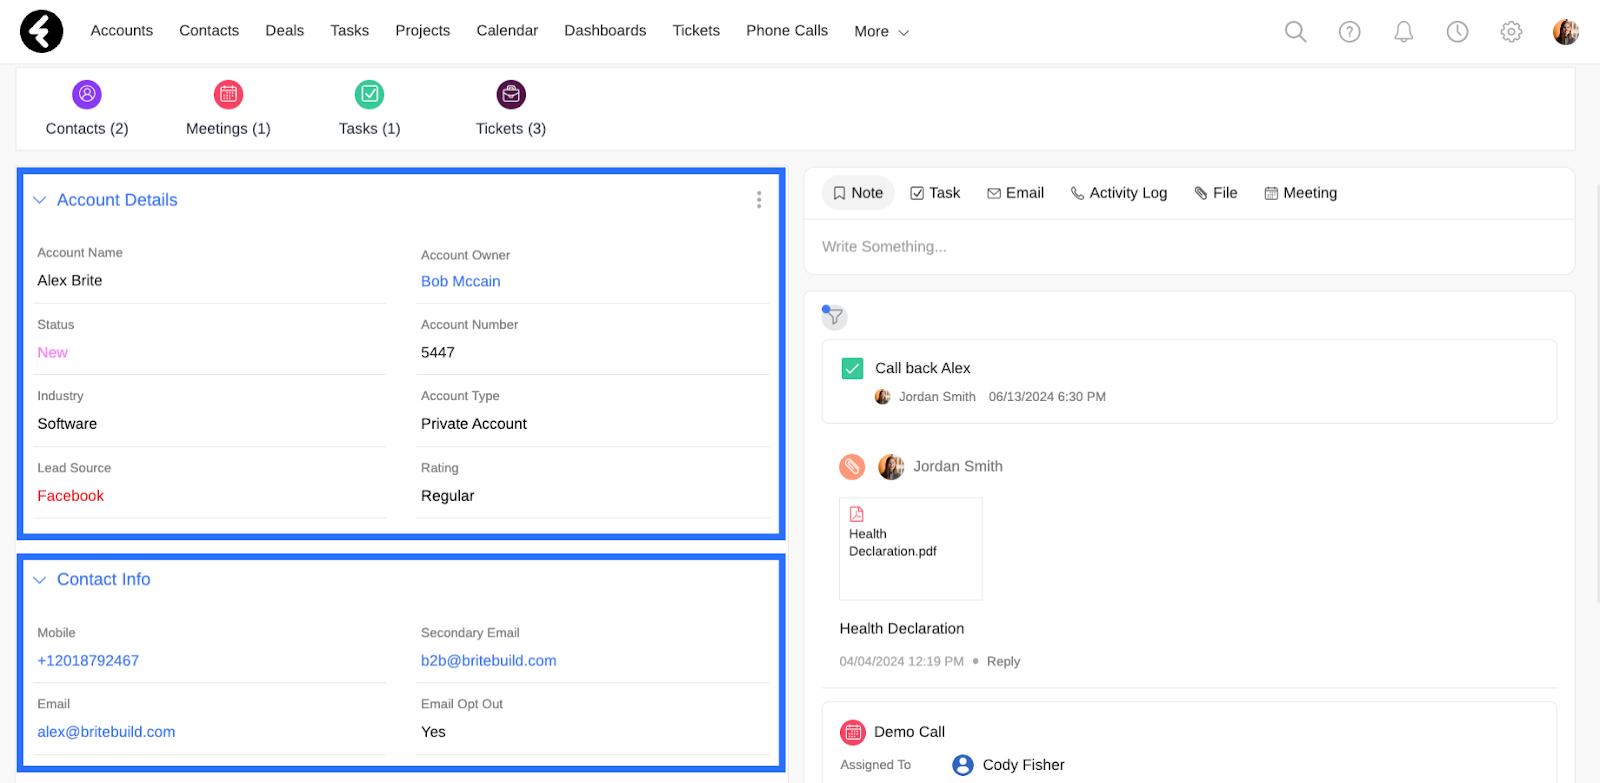
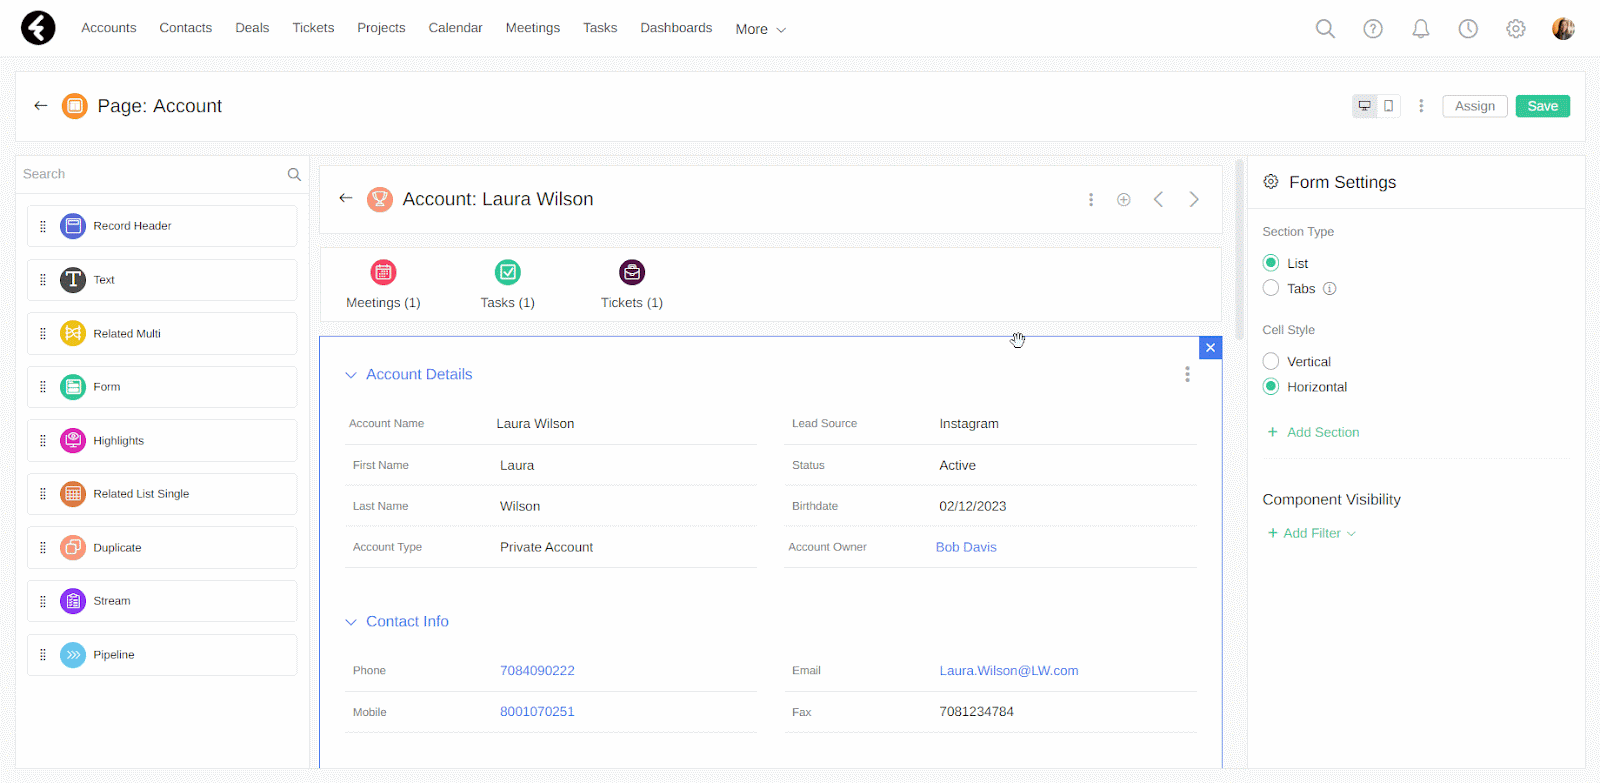
Each form is made up of sections, and each section is made up of fields. For example, the form below has two sections, Account Details and Contact Info. Within each of these sections are fields which are relevant to them. In this way you can keep your fields organized.
Creating a form
Start by opening a page editor, which you learned how to do in the previous lesson. Next, simply drag the form component from the components menu on the left into the desired spot on your page. Your form will automatically start with one section titled Section Title and two fields, the primary field of the object, which is generally the name, and the owner field. The primary field will be marked with a star, and is the field which is displayed in the record header. This field is also used for system wide searches.
Form settings
You can now use the form settings on the right to set up your new form. You can of course also use it to edit existing forms.
Section type
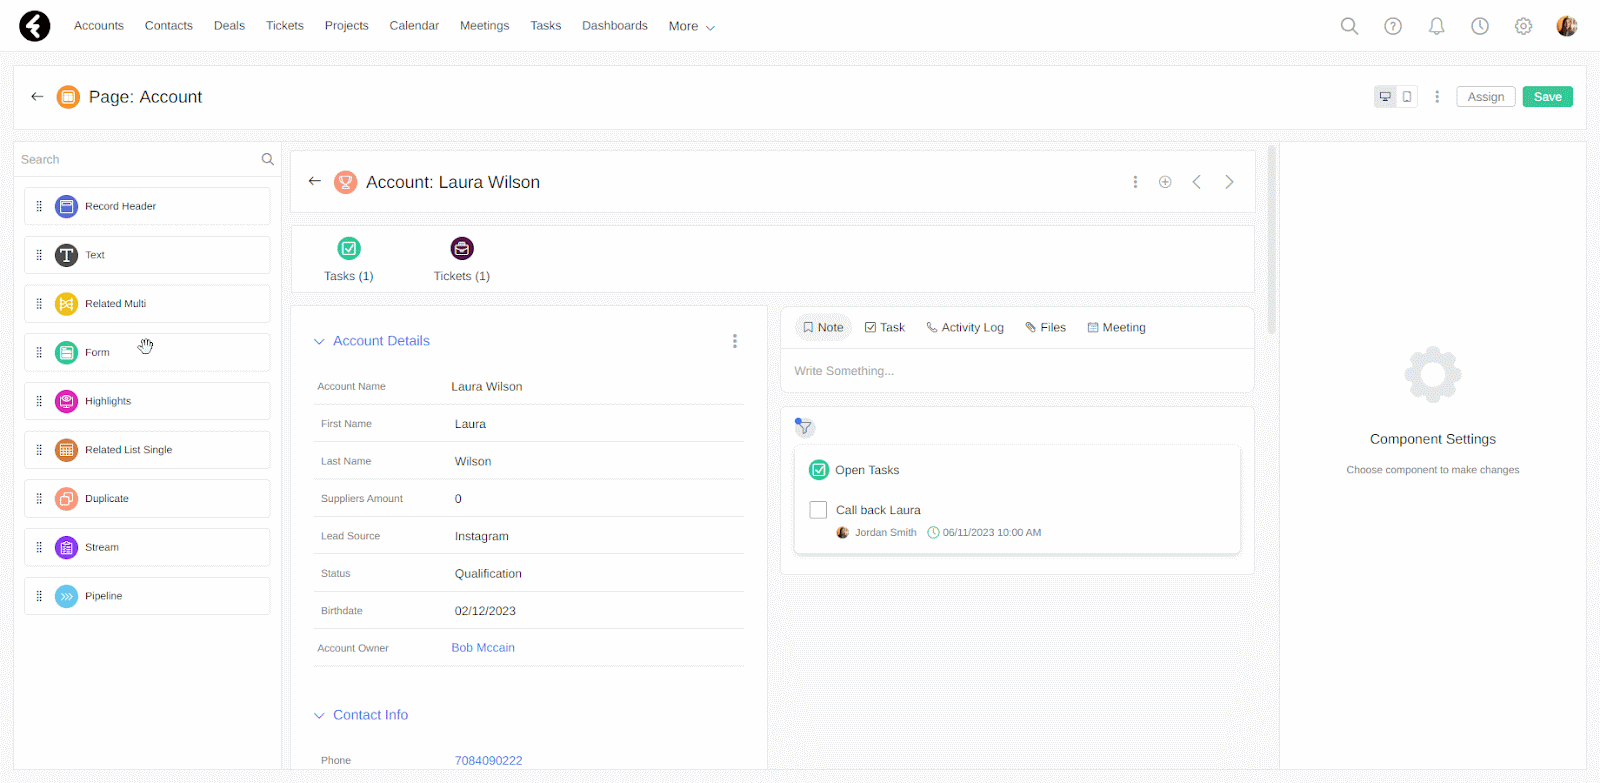
This sets how the sections in your form will be displayed. By selecting List, your sections will all be displayed at once. This is the default setting, and is good when you’d like to be able to look over all your fields at once.

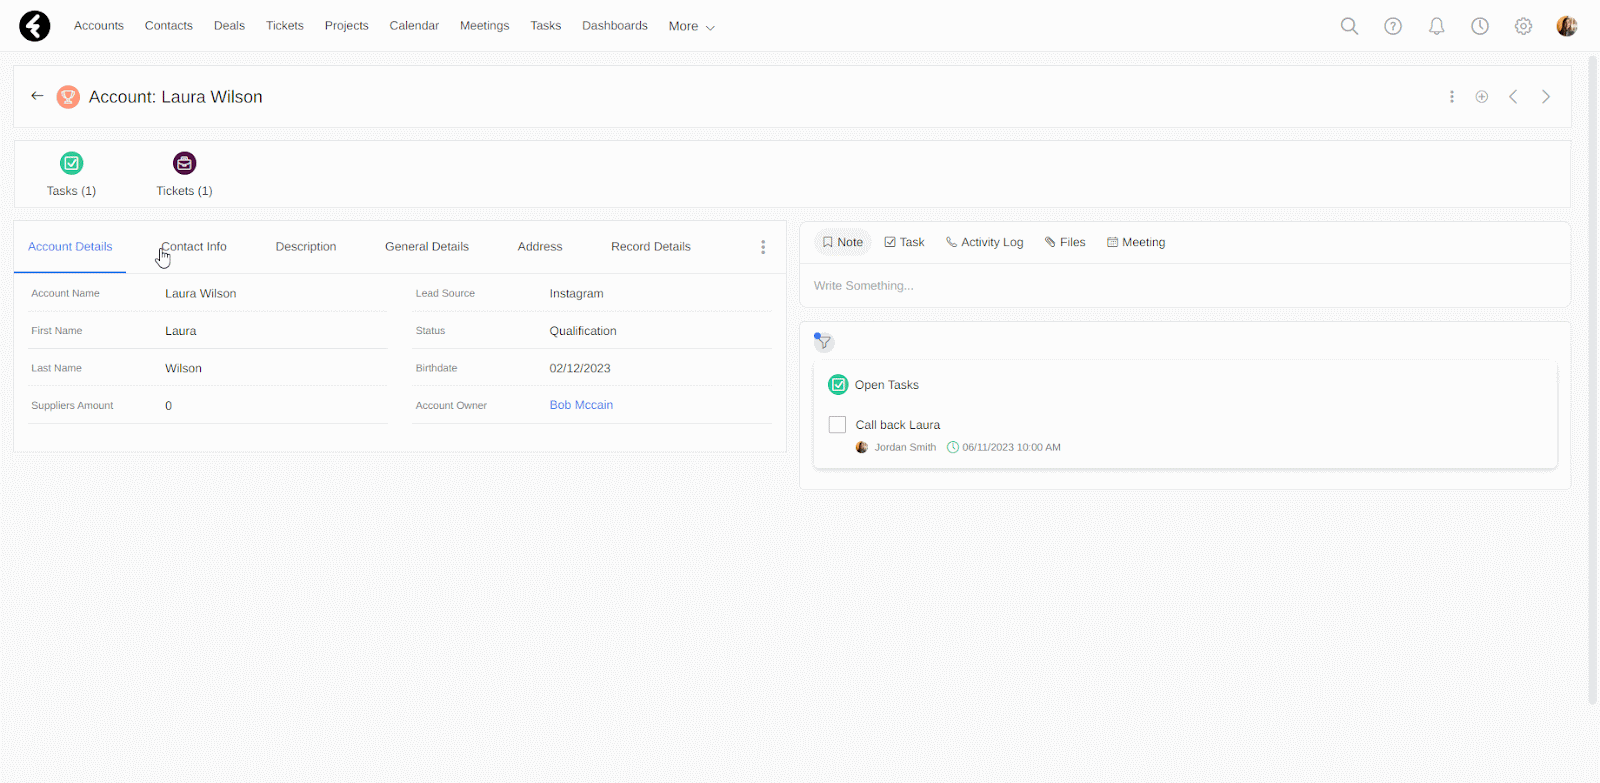
By selecting Tabs, each section will be displayed as a single tab. In this way, you’ll view each section one at a time.
Cell style
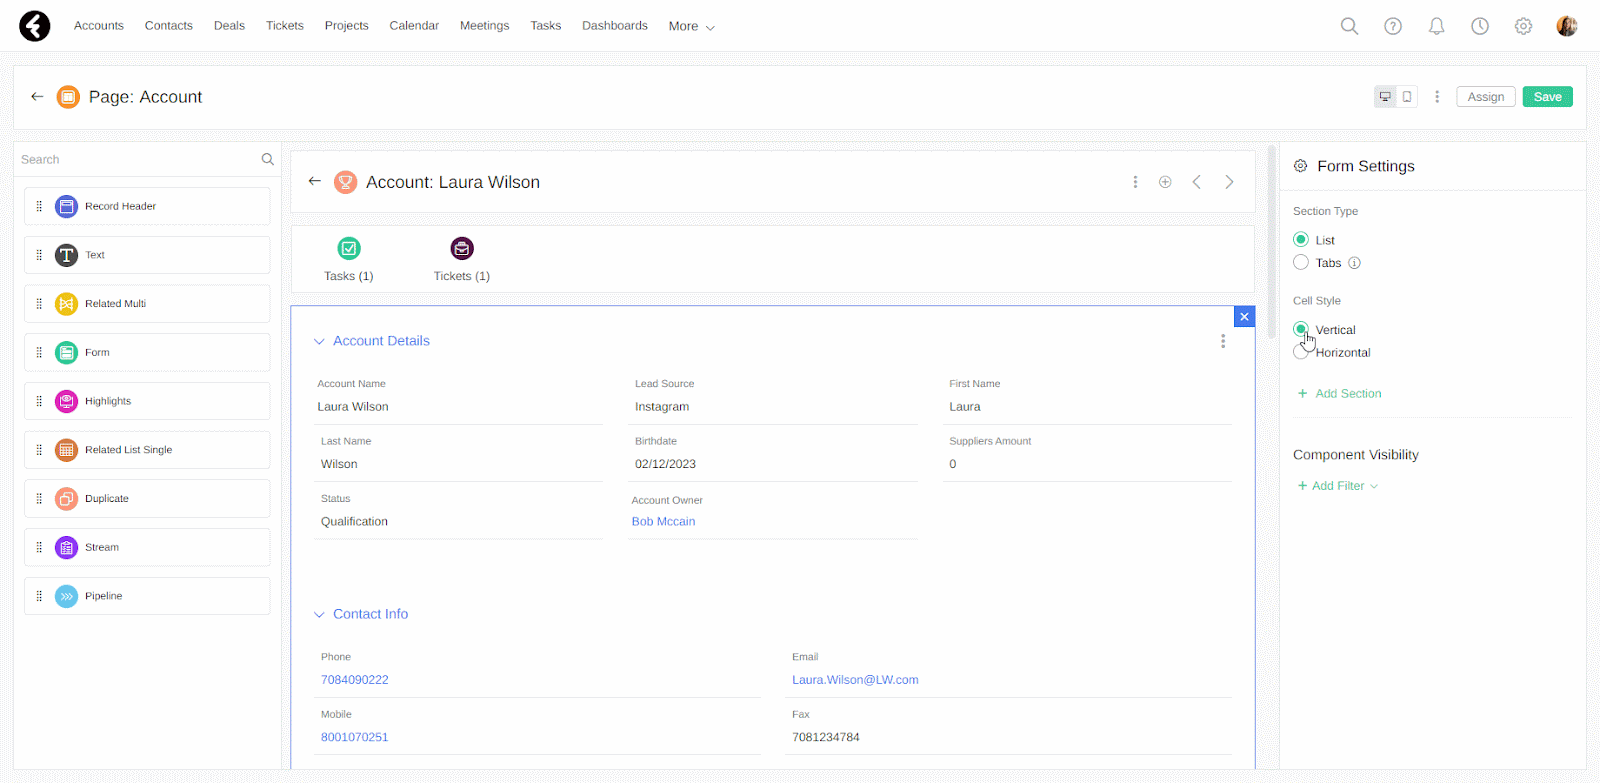
This sets how each field will be displayed. By selecting Vertical, the field names will appear on top and the values will appear below them. By selecting Horizontal, the field name and value will appear in a row, with the name on the left and the value on the right.
+ Add Section
By clicking + Add Section, you’ll add a new section to the top of your page. The new section’s settings will automatically open on the right, which you’ll learn about soon. You can also select any section by hovering over it and then clicking it once you see the blue outline. You can use the X on the top right of the selected section to delete it. This will remove both the section and all the fields displayed within this section from your form.
Section settings
After selecting a section, you can use the section settings on the right. The box at the top lets you set the name of your section.
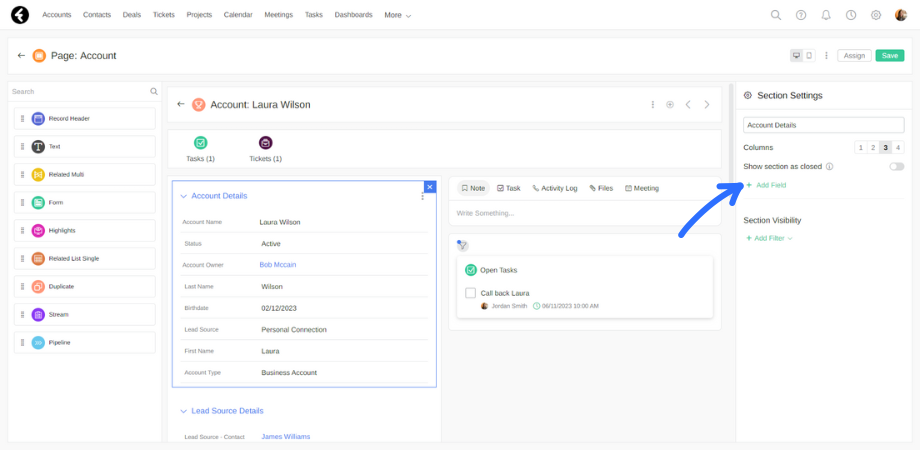
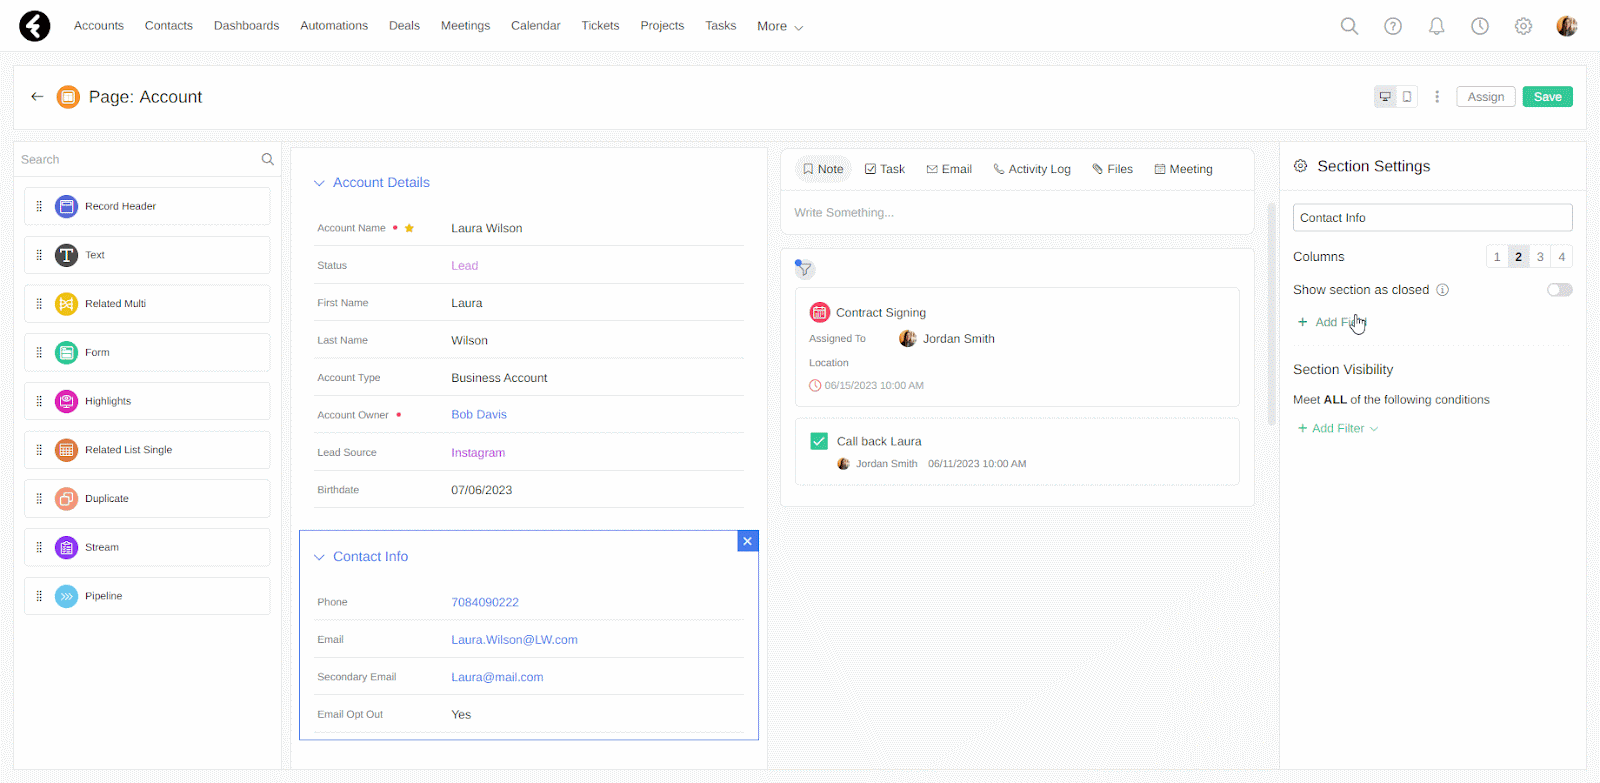
Columns
Use the columns option to set the number of columns within your section. Shorter fields, such as names or phone numbers, are better displayed in a multi column display. Longer fields, such as addresses or descriptions may be easier to read in one column sections.
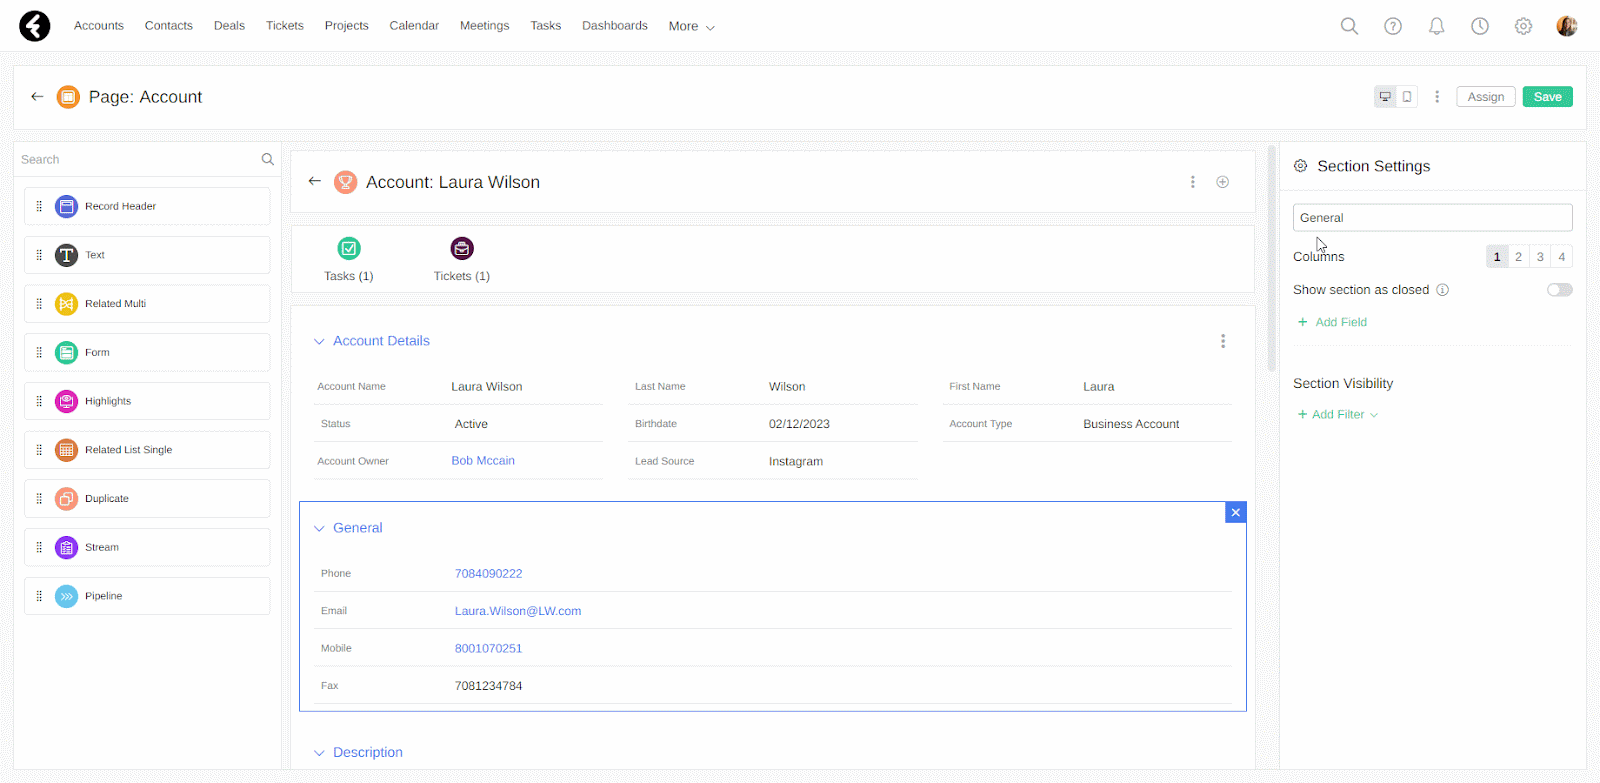
Show section as closed
By setting this toggle to green, your selected section will display as a closed section by default. This means that the page will only display the section title and an arrow. To display the sections fields, users will have to click the arrow next to the section name.

+ Add field
By clicking + Add Field, you’ll open a list of the fields in the current object. For example, if you’re open to an Accounts object page, you’ll view all the fields in the Accounts object. By clicking on a field from the list, you’ll add this field to your current section.
You can click on a field to select it, and then drag it to wherever you’d like in your section. You can even drag it to a different section. By selecting a field, its individual settings will open on the right. After selecting a field, you can also use the blue X on the top right to remove the field from your form. This will simply stop the field from being displayed in your form, and will not delete your field or any of the data within it.
You may have noticed that some of the fields in the +Add field list have arrows to their right. In the next lesson you’ll learn about this option. Then you’ll learn how to edit fields.
Add form components to your pages to provide access to fields, and structure your forms using sections.
Course Lessons
Up next
